


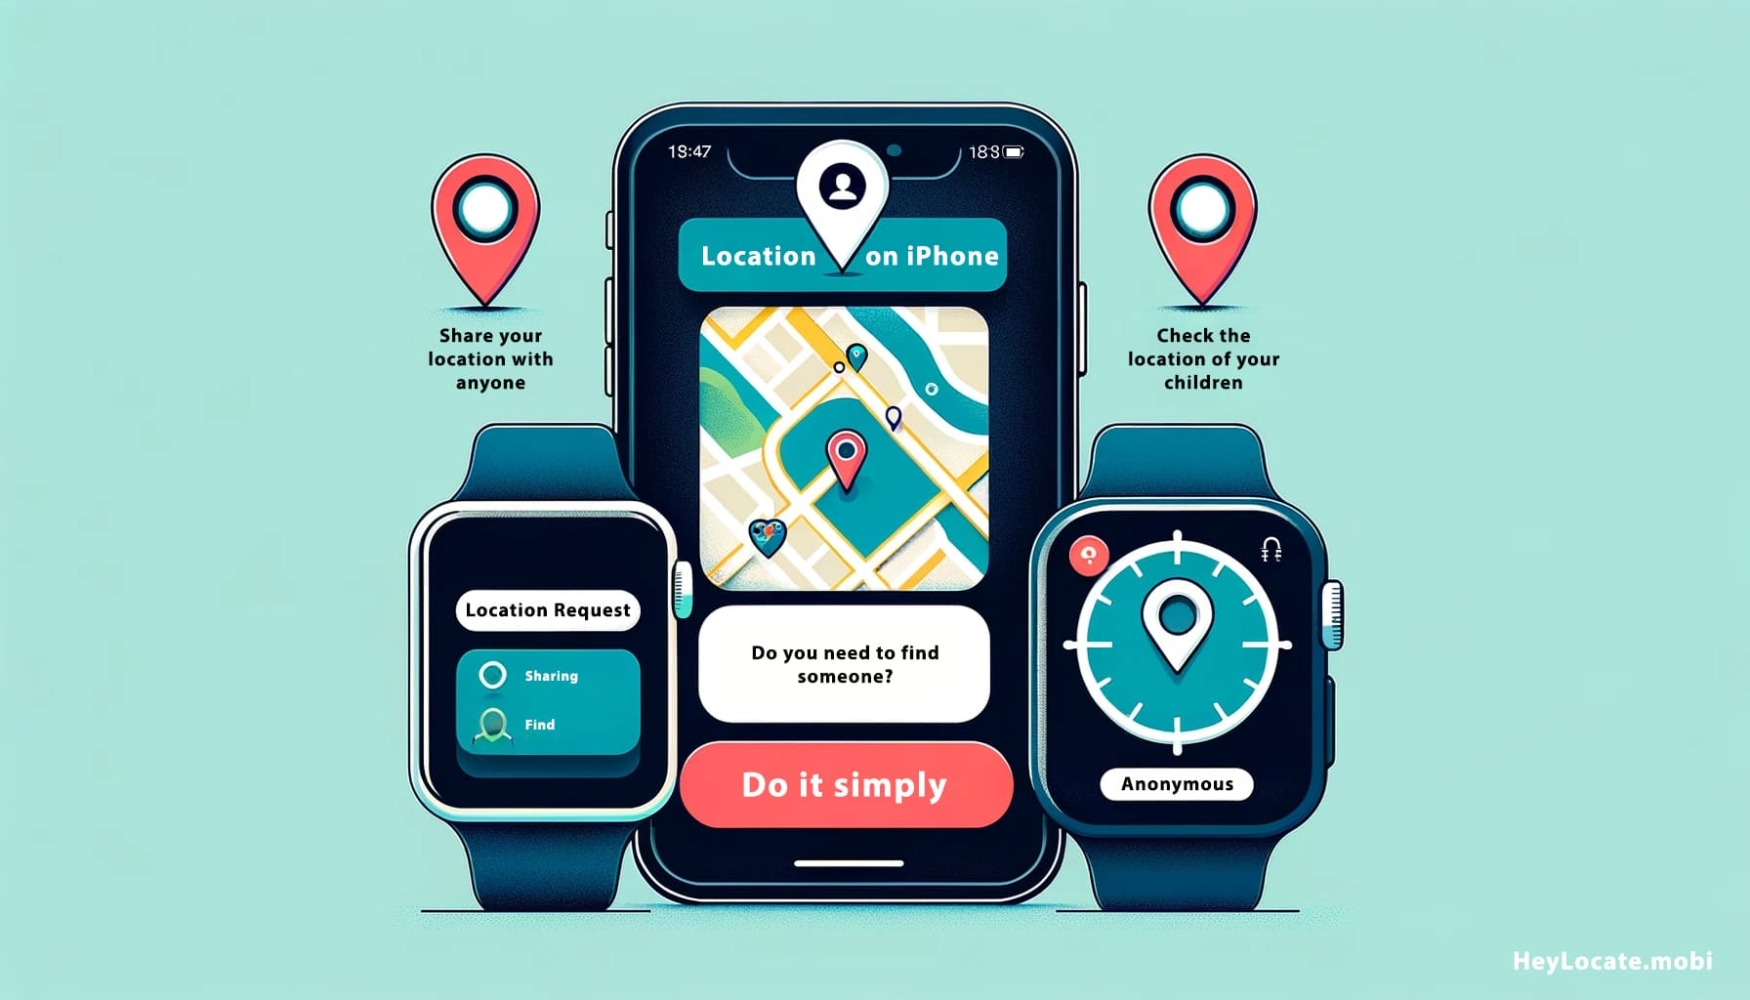
To request location on iPhone, you should use iMessage, Apple Watch or third-party trackers. The last one tool is perfect when you want to find someone’s location anonymously. From checking in on your children’s whereabouts to keeping tabs on your partner, modern technology grants us unprecedented power to execute these tasks with ease.
It’s worth saying that Apple’s Find My app or Apple Maps allow you only share location to see someone’s. But what if you don’t want, don’t need or can’t share your location, but need to find someone? There are some ways for that too.
At HeyLocate, we offer a detailed guide on accessing someone’s iPhone location through three distinct methods, ensuring you have the information you require for responsible and effective location tracking.
Enter the Phone Number and Find Location Now
- Number Tracking
- Phone Lookup
Top Pick Based on Our Research
🥇 Scannero.io is one of our top online tracking services, excelling in handling anonymous location requests. It’s a dependable solution for global tracking needs, requiring just a phone number for accurate results.
🥈 iMessage, tailored for iOS users, is a top-tier instant messaging platform. Beyond messaging and connecting users, it offers secure location requests, ensuring real-time location sharing.
🥉 Locationtracker.mobi is a dependable location tracking website, allowing users to send location requests via any messaging app.
Request Location Through iMessage
Step-by-step instructions on how to use iMessage to request someone’s location is below:
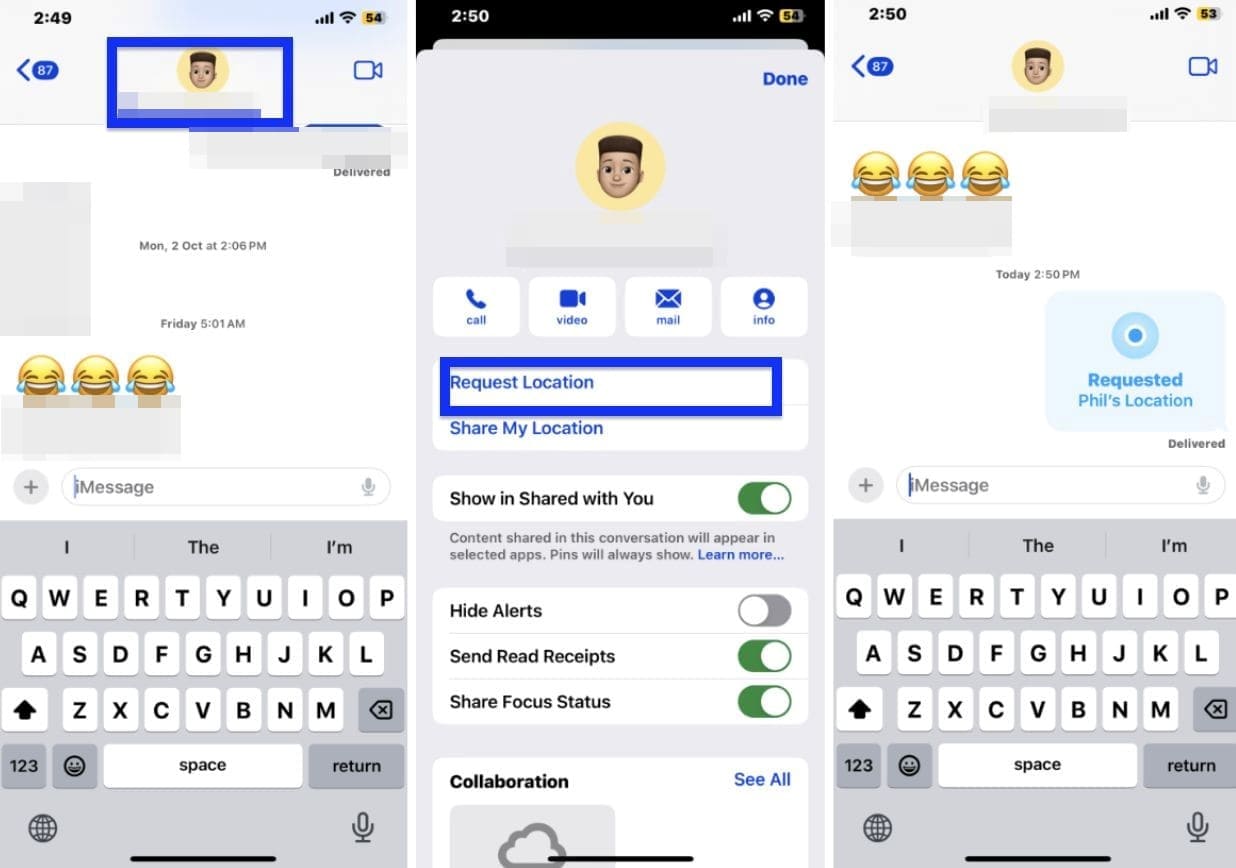
- Open iMessage on your iOS device. Select the contact you want to request the location from or start a new conversation.
- Tap on the recipient’s profile picture at the top of the screen and find Request Location in their contact details. Tap it.
- Send the location request.
- The recipient will receive a notification and can accept or decline.
- Once accepted, both parties can view real-time locations on a map.
Use Apple Watch to Request Location
Here are step-by-step instructions on how to request location on iPhone using an Apple Watch:
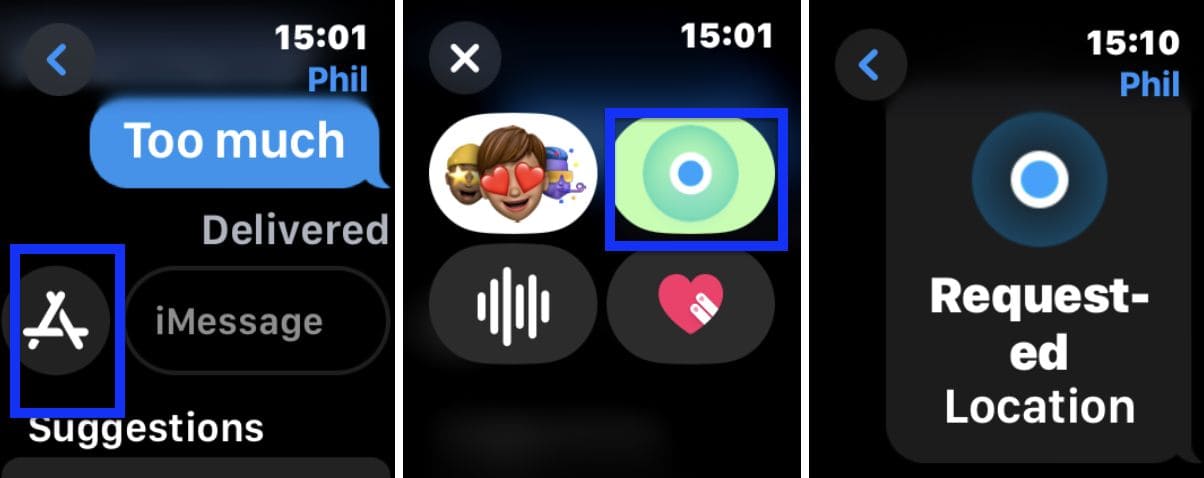
- Launch the iMessage app on your Apple Watch. Choose a contact by tapping the compose button (a “+” sign) in the upper-right corner, and choose the name of the person you want to request the location.
- Tap the “A” app icon, and then select the Find My icon. This icon resembles a bullseye with green rings and a blue center dot.
- Navigate to the option that says “Request someone’s location” within the Find My app.
- If you’re requesting someone else’s location, messages will promptly send a location request to that person.
- The person receiving the request must tap the location share button and specify the duration for which they want to share their location. This allows you to view their current location and even directions to where they are upon the agreed-upon time frame.
Note: Both your Apple Watch and the recipient’s device need to be connected to Wi-Fi or have cellular connectivity for this feature to work. Additionally, the recipient must have been granted location-sharing permissions, for this handy feature to work.
Try Online Trackers for Anonymous Location Request
If you want to stay anonymous while requesting someone’s location, try third-party trackers. You won’t need to install anything, but may have to create an account.
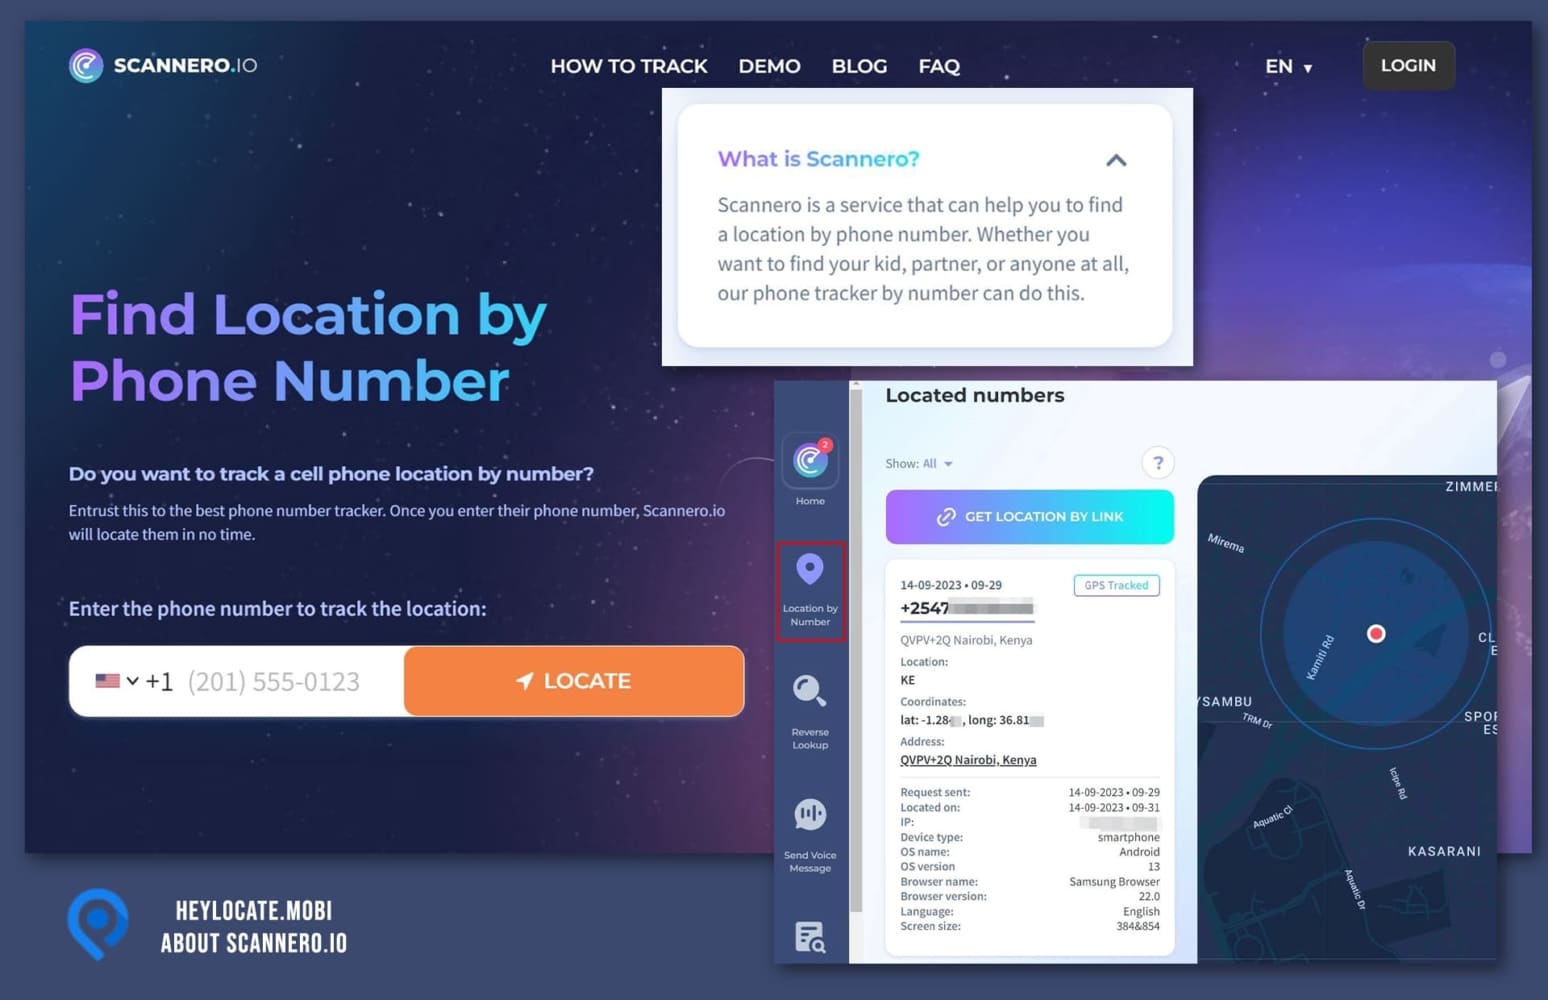
Scannero – Best for Anonymous Tracking
Scannero is a web-based tracking tool that allows you to request the real-time location of an iPhone user using only their phone number. It stands out as one of the best options for anonymous location tracking.
User Experience:
In my quest to request my partner’s location, I tried Scannero service. I completed the sign-up process, chose the $0.89 one-day trial and entered my partner’s phone number in the provided box on the homepage, ensuring the correct country code. By clicking the “Locate” button, an anonymous text message was sent to him, requesting his location.
During my experiment, it took approximately one hour for the text message to reach him. Once he clicked on the tracking link, I was able to monitor his phone’s location through the map displayed on the Scannero dashboard.
Notably, Scannero didn’t necessitate physical access to my partner’s device. Still, it couldn’t help me if I needed to know his location immediately.
Pros:
- provides anonymous tracking services;
- delivers highly accurate and efficient tracking results;
- capable of tracking multiple phone numbers.
Cons:
- requires an expensive subscription fee of $49,80/month for full access;
- potential delays in text delivery to the target device.
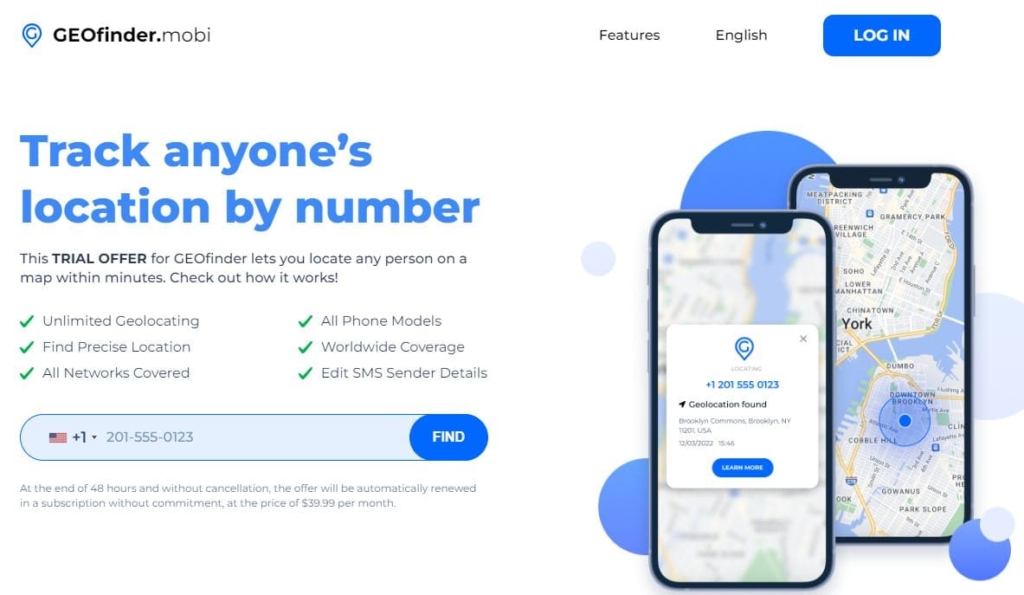
GEOfinder – The Cheapest Trial
GEOfinder.mobi is a reliable website-based location tracker with a focus on tracking Apple devices using only a phone number, eliminating the need for app installations. Additionally, it stands out for providing the most budget-friendly trial option – only $1.
User Experience:
I tried out GEOfinder to request my friend’s location, using only her mobile phone number.
After creating an account, GEOfinder.mobi generated a concise tracking link along with a customizable text message. This text was promptly sent to my friend’s iPhone.
Shortly afterward, my friend received an SMS, requesting permission to share her location. Once she granted consent, I was instantly granted access to her real-time location on the map.
GEOfinder.mobi caught my attention not only for its cost-effective trial but also for its reliable and anonymous tracking services. Additionally, the tool offered unlimited lookups, making it a practical and budget-friendly choice for frequent tracking needs.
Pros:
- offers a one-day $1 trial;
- can track any mobile number in the world;
- reliable and anonymous tracking;
- unlimited lookups.
Cons:
- potential delays in SMS delivery;
- subscription costs $39.99/month.
Locationtracker.mobi – Send Requests Via Any Messenger
Locationtracker.mobi is another reliable location tracker tool that allows users to quickly request an iPhone location by sending a location request via any messenger app. No app installation is required.
User Experience:
To use the tool, I signed up for the services on the website and uploaded a photo from my gallery. The tool swiftly generated an SMS with a tracking link, enabling me to copy and send it via any messenger to one of my colleague’s iPhone.
When she received the text and clicked the link, I gained the ability to track her iPhone’s location through the user account. The tool provided me with precise details, including exact coordinates and a map view
Pros:
- operates anonymously;
- can send a location request via any messages’ app;
- no need to install an application.
Cons:
- expensive tracking service – 39.99 EUR/month;
- no trial period is offered;
- the tracking link must be opened on the target device to track its location.
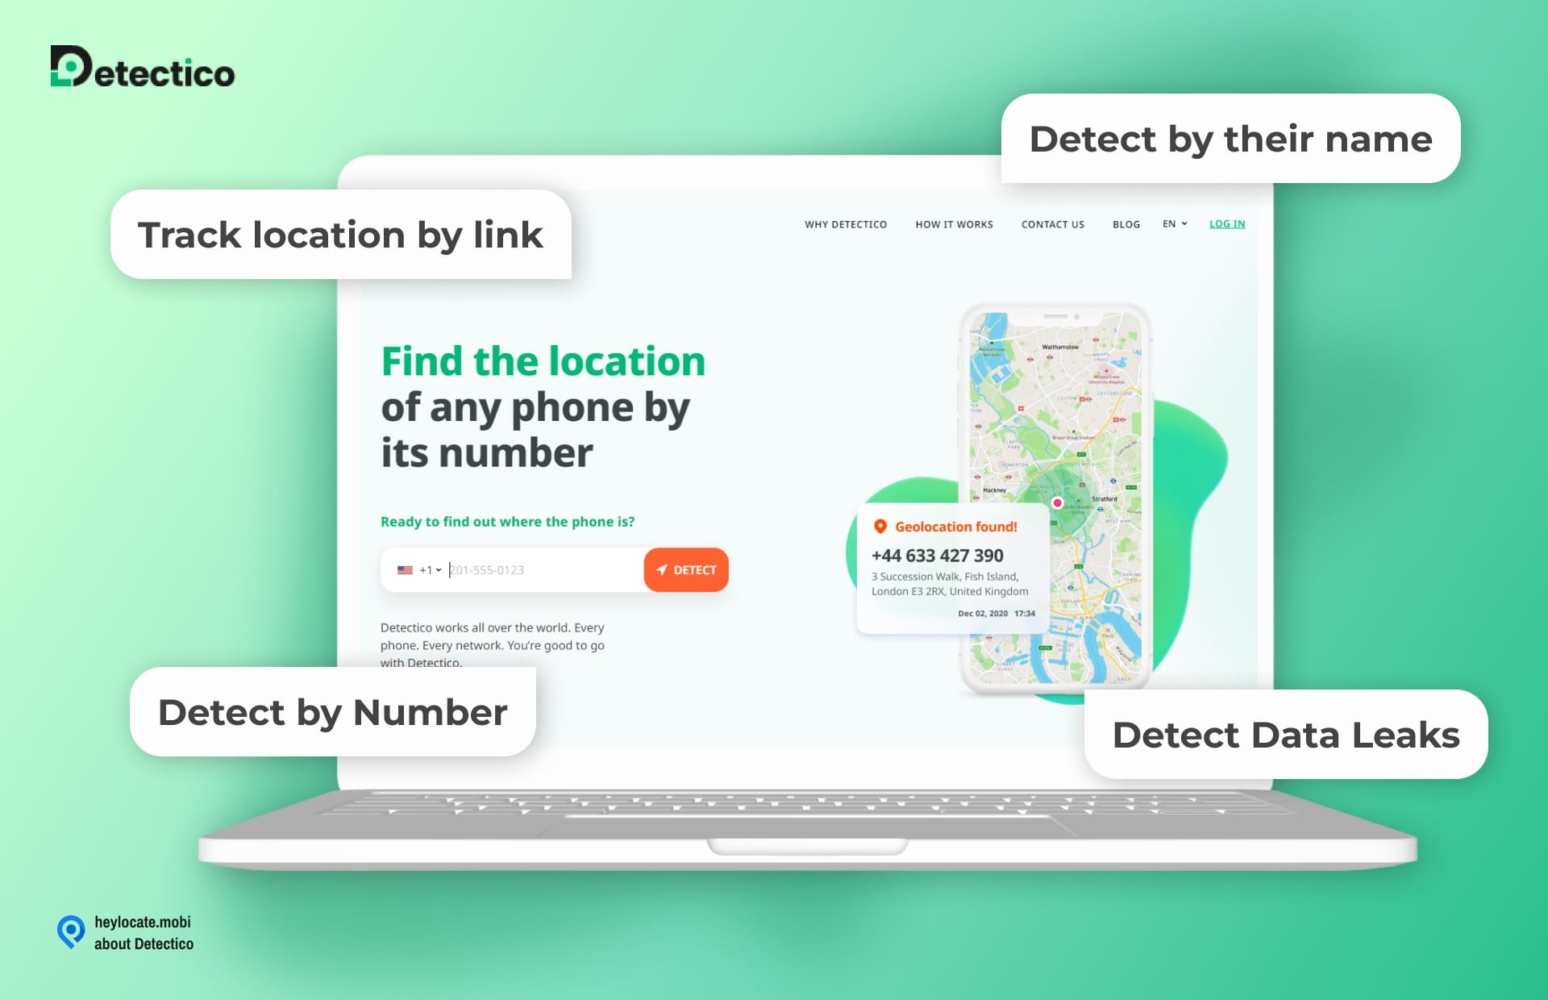
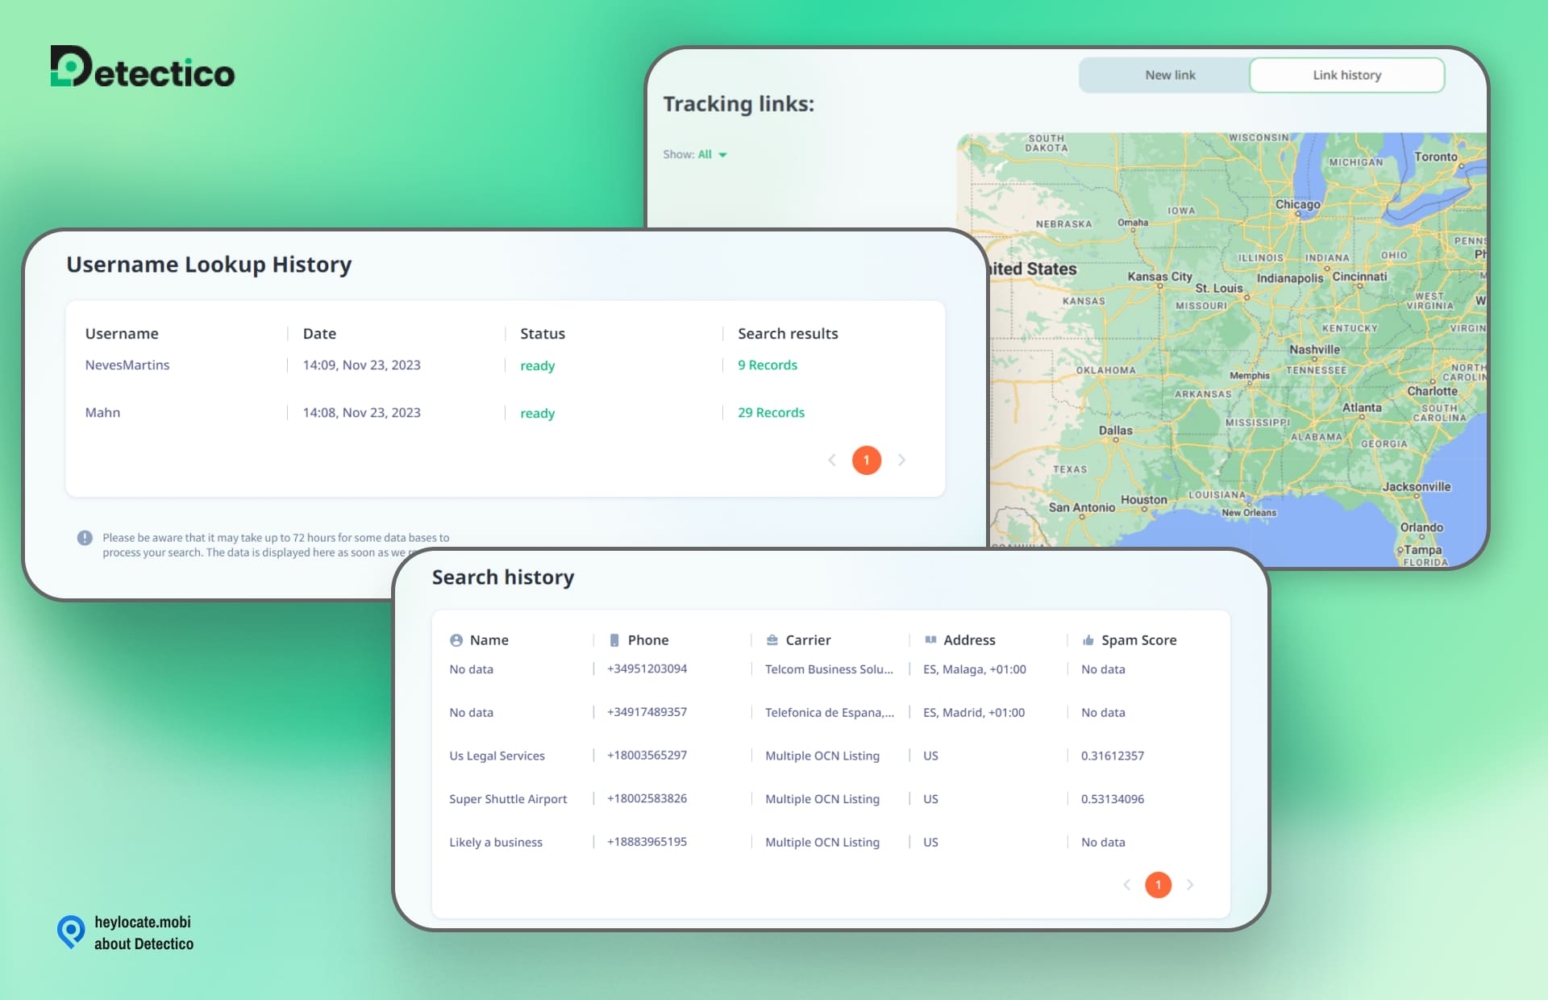
Detectico – Super Precise
Detectico is a reliable location tracker using a phone number. The service is entirely online and only requires an internet connection and consent from your target.
User Experience:
I signed up on the Detectico website using my email address. Since it’s a paid service, I chose the 1-day trial for only $0.89. After this, I entered the target’s phone number, and Detectico gave me a selection of messages to send to the individual. I chose one of the messages that Detectico used to embed a tracking link.
When the recipient received the message, they clicked the link, and Detectico tracked their iPhone. I could see the phone’s location on a map. The service also included the phone number carrier and I could also send them voice messages or a tracking link through social media chats.
Pros:
- no need to install an app;
- private and anonymous;
- compatible with all mobile networks.
Cons:
- lacks a free trial;
- requires a monthly payment.
Bonus: Track Someone’s Location Constantly With mSpy
If you want to continuously see someone’s location on iPhone, for example your family member, use phone trackers like mSpy. It is a perfect option for parents as it allows them to track kids in a stealth mode. Besides, it shows you not only the precise location of the target phone, but almost everything on it – from SMS and call tracking to social media monitoring.
How to use mSpy
To use mSpy, you just need to sign up on the website, complete the payment process ($11-48/month), and provide the Apple ID credentials of the Apple device you want to track. If iCloud backup is active and two-factor authentication is off, no physical access is needed.
Afterward, access the mSpy control panel to view virtually everything on the target phone. To check an iPhone location, navigate to the GPS location feature on the dashboard. There, you can see its location, addresses, coordinates, and a link to Google Maps for tracking. You can see their real-time location quickly and even past locations.
Additionally, the tool also offers other features like calls and message tracking, social media monitoring, website monitoring, and even an iPhone keylogger feature.
Enter the Phone Number and Find Location Now
- Number Tracking
- Phone Lookup
Conclusion
Requesting an iPhone’s location does not have to be complex. You have a diverse array of methods and tools at your disposal, allowing you to choose the approach that best suits your specific needs and priorities.
You can select the security of trusted platforms like iMessage and Apple Watch for discreet location requests within a close-knit network.
If you would rather not share your location, explore online location services tools such as Scannero and GEOfinder, specializing in anonymous location requests and budget-friendly trials. Locationtracker.mobi offers versatile messenger-based options for requesting location. The possibilities are abundant!
FAQ
The inability to request someone’s location on an iPhone may be due to users not granting permission, having cellular data turned off, or privacy concerns. As an alternative, consider utilizing Scannero, a dependable location-sharing service.
iPhone doesn’t provide a native feature to see someone else’s location history on your iPhone. For tracking historical locations, explore third-party options such as mSpy.


Leave a Comment